How To Configure DHCP Failover In Windows
Server 2012 R2
In this example we will be using 2 servers,
each on which DHCP server role will be installed, on our first server which is
a domain controller the DHCP server role has been installed and configured.
This is our primary DHCP server (AD.PRAJWAL.LOCAL) running Windows
Server 2012 R2 Datacenter edition. On another server running Windows Server
2012 R2 Datacenter edition (DHCP2.PRAJWAL.LOCAL), we will be installing
the DHCP server role. Launch the ServerManager and select DHCP Server role.
Click Next.

Click on Install.

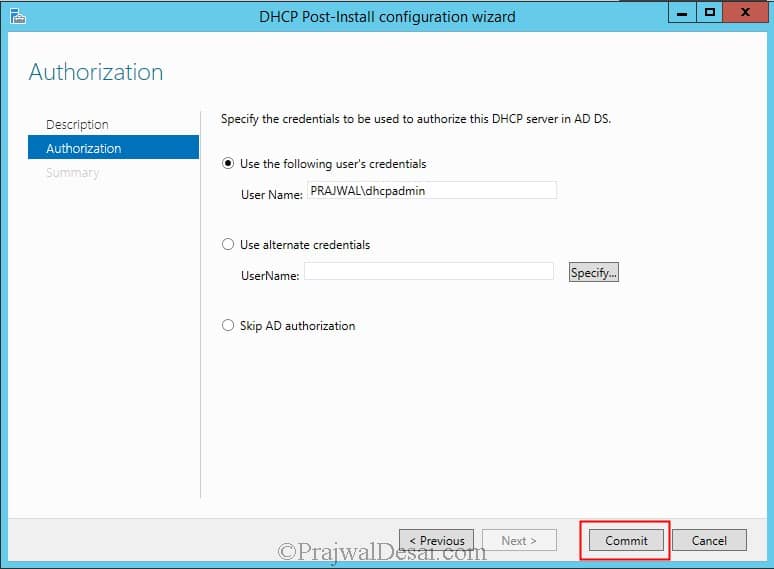
Do not click Close, click on Complete
DHCP configuration.

Click Commit.
Now on the first DHCP server, launch the DHCP console,
right click on IPv4 and click onConfigure Failover.

Click Next.

Click on Add Server to add
the partner server used for failover. Add the second DHCP server and click Next.

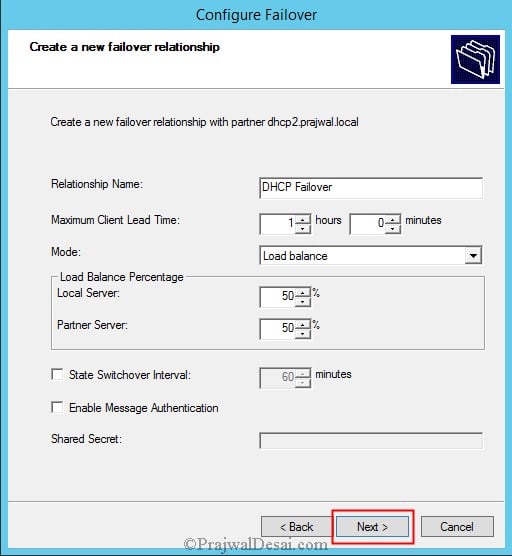
Type the Relationship Name,
select the Mode as Load Balance. Click Next.
If you are looking for explanation of each
setting, here it is
Note
Relationship Name - A name to identify the failover.
Maximum Client Lead Time –
Determines maximum amount of time that one server can extend a DHCP lease for a
client beyond the time known by the failover server.
Mode – Load Balance settings for an active/active configuration
or Hot Standby for an active/passive configuration.
State Switchover Interval – If
this setting is enabled the active DHCP server will automatically place its
partner into down state when it can’t communicate with it for the specified amount
of time.
Enable Message Authentication – This option enables authentication of the failover replication
traffic between partners. If you enable this option you must also specify the
Shared Secret.
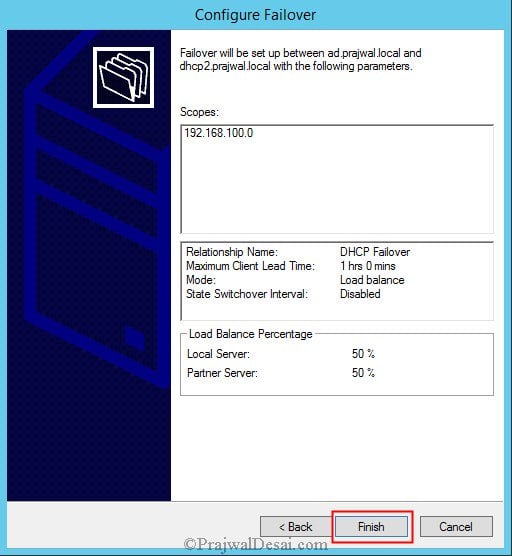
Click Finish.
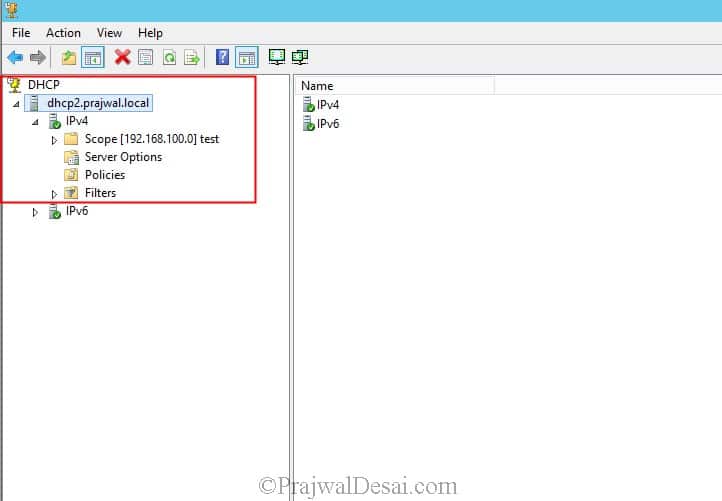
Launch the DHCP console on the second DHCP
server and you should see the IPv4 Scope similar to the one seen on primary
DHCP server.
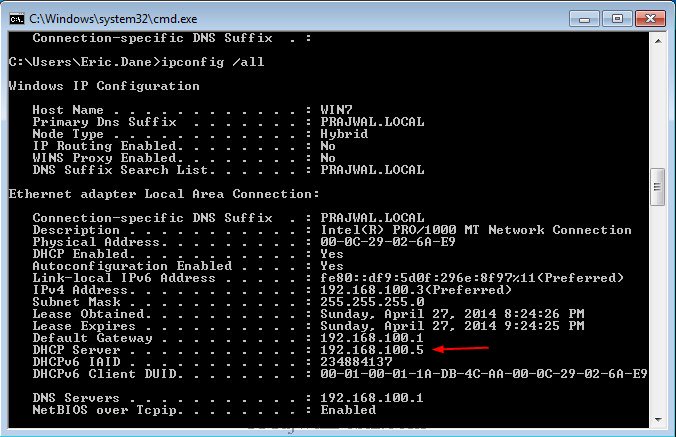
To test the DHCP failover we will log in to
one of the client machine. Launch the command prompt and type ipconfig
/all, make a note of DHCP server that has provided the IP address. In our
case the DHCP server is 192.168.100.1 (AD.PRAJWAL.LOCAL).

Now on 192.168.100.1 DHCP
server we will disable the network device. After waiting for few seconds on the
client machine we see that DHCP server IP is changed to 192.168.100.5.
This means that when our primary DHCP server 192.168.100.1 was
down, the other DHCP server 192.168.100.5 assigned the IP address to the client
machine.
No comments:
Post a Comment